

Since AutoDiscovery, connecting Outlook to Exchange via the internal network has become child's play. However, if you also want to connect Outlook to Exchange via the Internet, you have several options. The most convenient way is Outlook Anywhere (RPC over HTTPS). With this option, Outlook connects to the Exchange server via port 443 (HTTPS) and works just as conveniently as if it were on the internal network. Users with notebooks who are often on the road and need to access their mailbox and other information from anywhere will quickly appreciate Outlook Anywhere. The setup is simple.
First start the Exchange Administration Console and switch to the Client Access role in the server configuration
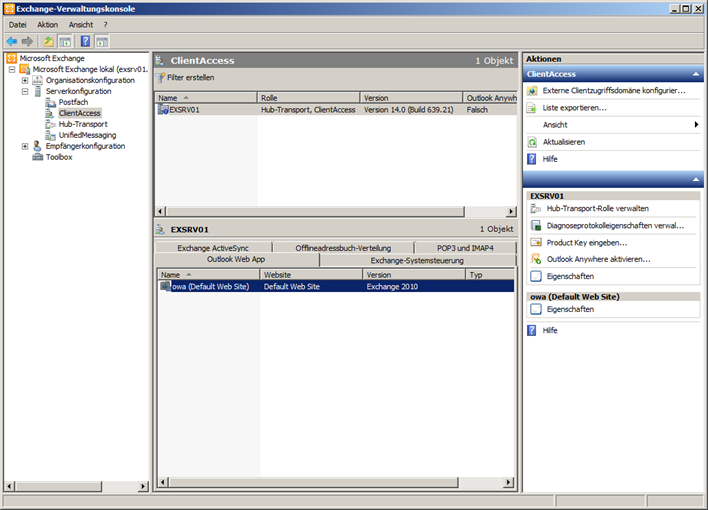

Now click on „Activate Outlook Anywhere“ in the Actions field. A new configuration dialog opens:
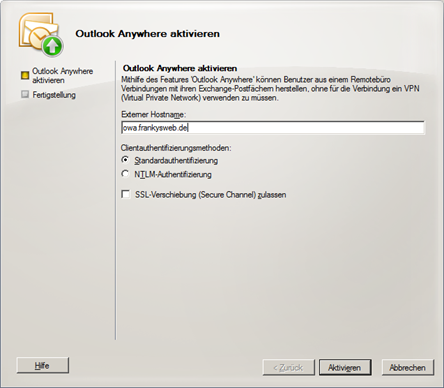

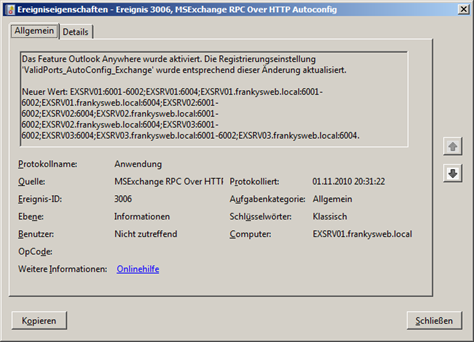
In the „External host name“ field, enter the FQDN from which Exchange should be accessible from the Internet (e.g. „owa.frankysweb.de“). We leave the client authentication methods at „Standard authentication“. Then we click on „Activate“. The next message shows us that Outlook Anywhere is activated with a time interval of 15 minutes. We should therefore find this entry in the application log after about 15 minutes:

Depending on the configuration of the network, a few specific changes must now be made. In my test environment, the network configuration looks like this:
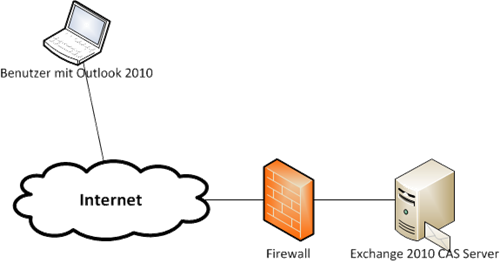

As my Exchange server is behind a router with a firewall/NAT, I activate port forwarding on the router. This means that I forward port 443 (HTTPS) from the external IP address of the router to the internal IP address of the Exchange server. This is already done in most Exchange environments, as Outlook Web App is often provided.
That was all on the server side. In the internal network, the changes are distributed via AutoDiscovery so that normally no further configuration is necessary on the clients. However, if there are employees who are not directly connected to the company network, Outlook Anywhere must be set up separately. For a new Outlook profile, this is done as follows:
First start Outlook and click on „Next“.

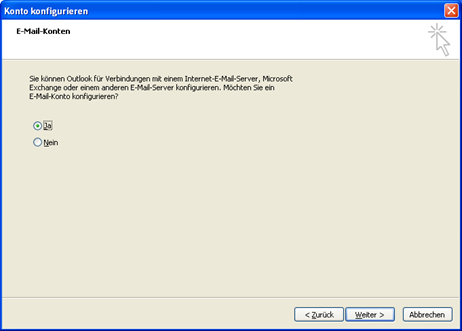
Then we click on the „Yes“ checkbox and click on „Next“ again“

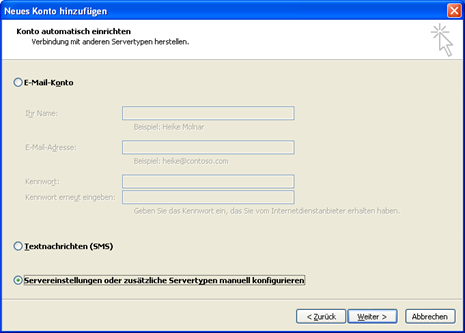
Now we select the checkbox „Configure server settings or additional server types manually“ and click on „Next“

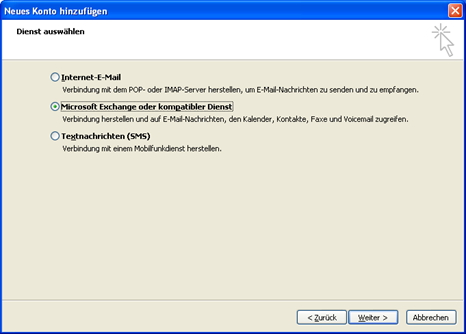
In the next window, we select „Microsoft Exchange or compatible service“ and click on „Next“

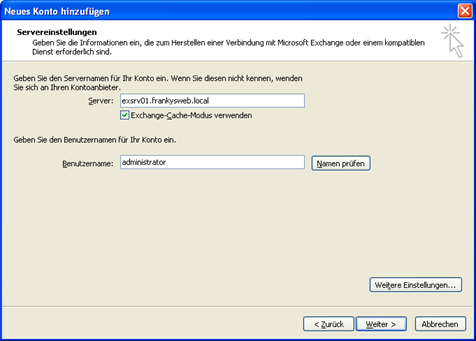
In the „Server“ field, we now enter the internal FQDN of the Exchange server, i.e. not yet the external host name we have just configured. Then we enter the user name and click on „Further settings“.

In the window that opens, click on the „Connections“ tab and activate the „Connect to Microsoft Exchange via HTTP“ checkbox, then click on „Exchange proxy settings...“


In the URL field, we now enter the external FQDN, in our example „owa.frankysweb.de„ and change the proxy authentication method to “Standard authentication".“


Now we can close all windows with OK, a warning follows that the settings will only be applied the next time Outlook is started, and a query for user name and password should also appear. Here we enter the user name in the format „Domain\User“ and save the password.


Outlook should now also be able to connect via Outlook Anywhere or RPC over HTTPS. In the case described here, it is important that the SSL certificates are configured correctly. An article on this will follow.